0022 MPSTPU(M.2 M) EN
Keywords
Raspberry Pi 5, PCIe, TPU, DTPU, Driver installation, Operation demonstration, AI, google, Coral, 2230, 2242, 2280, NVMe SSD, SSD X1
I. Introduction
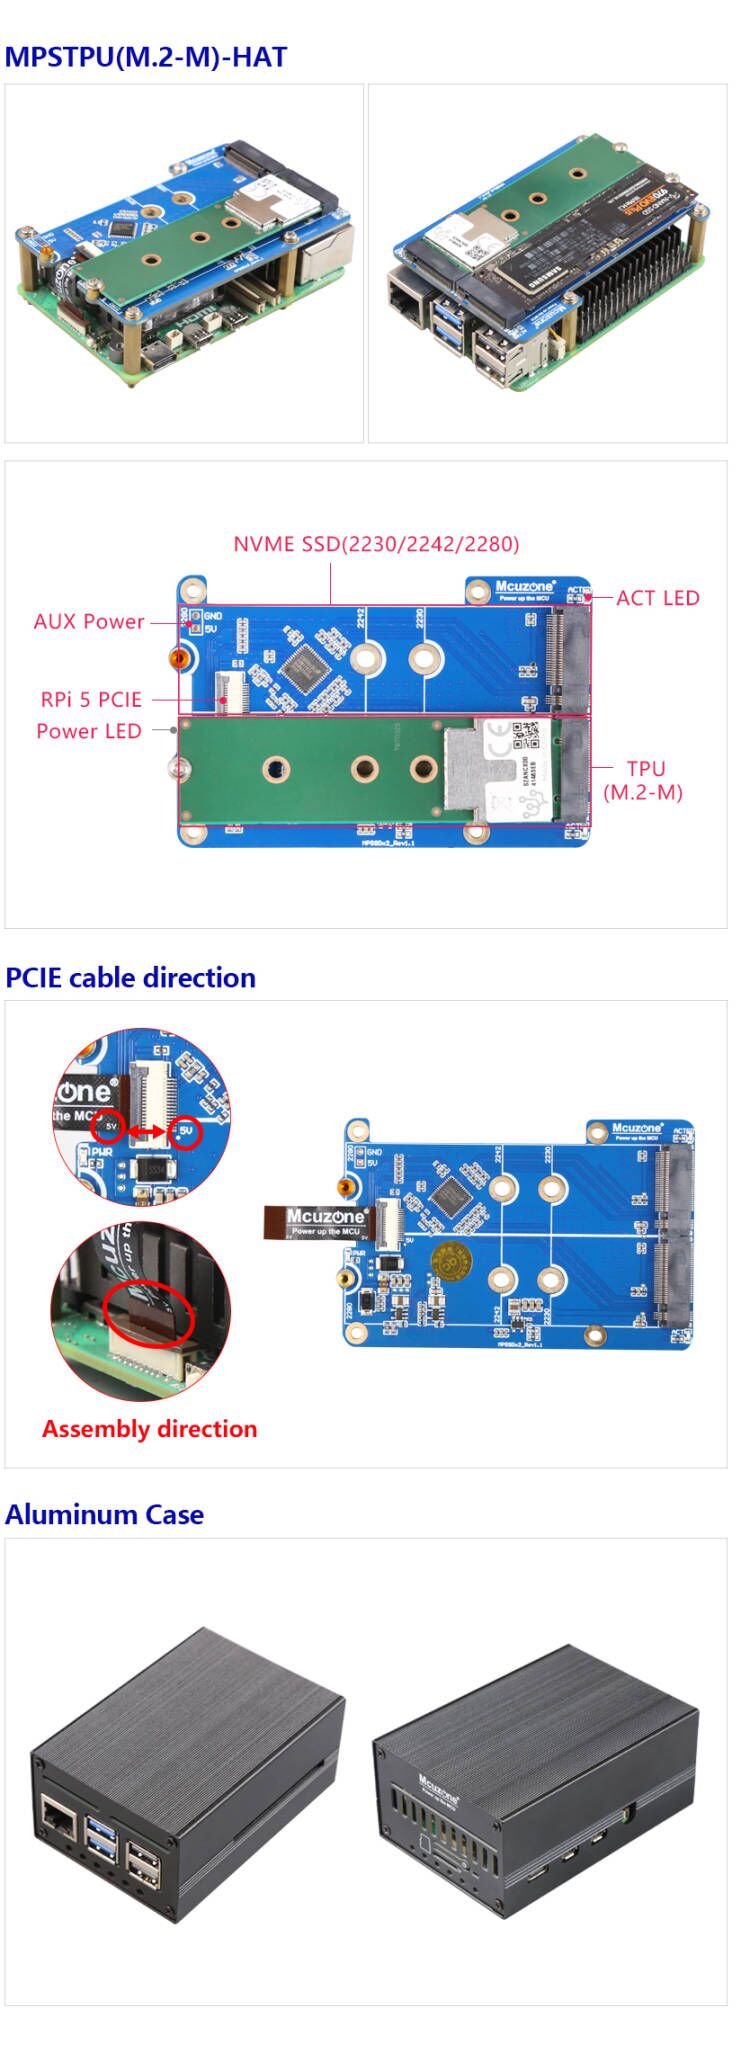
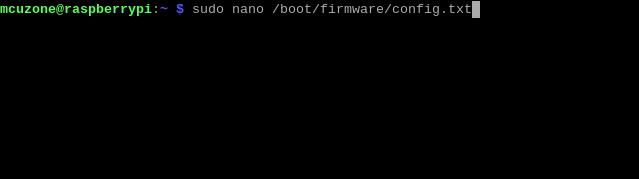
The Coral M.2 Accelerator is an M.2 sized module that can expand edge TPU coprocessing capabilities via the PCIE interface for platforms such as the Raspberry Pi. Our MPSTPU expansion board adds two PCIe interfaces via a PCIe Switch, One is an M.2 E key interface, which can be used to connect a TPU module with an A+E Key interface, the other is an M.2 M key interface, which can be used to connect an NVMe SSD. The MPSTPU expansion board can provide the system with massive SSD storage while adding TPU edge computing capabilities.
II. Hardware Resources
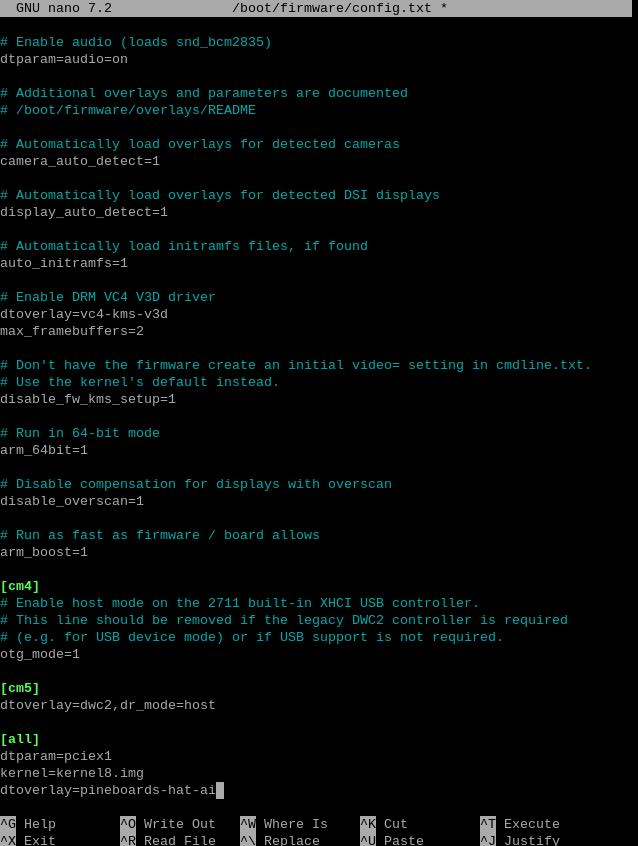
1. Utilizing the Raspberry Pi 5's PCIe interface, a PCIe Switch chip is used to expand one PCIe slot into two. Uses a 0.5mm pitch 16-pin PCIe 2.0 x1 interface connection.
2. It features one PCIE M.2 M-key slot, supporting NVMe protocol SSDs in 2230/2242/2280 sizes (defaulting to welded 2280 mounting pins). Note: It does not support SSDs that use NGFF and SATA protocols.
3.It features one PCIE M.2 M-key slot, supports Google Coral Edge TPU with M key interface.
4. A 5V power indicator light ("PWR") and a SSD activity status indicator light are provided.
5. The design uses a 1.5A high-efficiency DC-DC circuit, which can support the majority of SSDs. (Due to the x1 interface, the actual peak power consumption of the SSD is only 1/3 of the rated power consumption.)
6. The expansion board features an indented slot design, with no obstruction above the 40-pin connector, ensuring that DuPont cable connections are not affected.
7. It uses four M2.5 mounting holes that align with the Raspberry Pi 5 mounting holes.
8. Gold immersion PCB process, lead-free production, certified by UL, compliant with ROHS standards, and has a fire rating of 94V-0.
9. It is compatible with an optional aluminum alloy enclosure.
III. System flashing and setting
3.1 Overview
This document uses the Raspberry Pi OS, Ubuntu system and OpenWrt system for testing.
The version of the Raspberry Pi OS is: 2024-07-04-raspios-bookworm-arm64.img.xz
You can download the Raspberry Pi OS in:
https://www.raspberrypi.com/software/operating-systems/#raspberry-pi-os-64-bit
Note: If you want to run the TPU module under Raspberry Pi OS, the TF card used for flashing the system should have a space of at least 16GB, otherwise, it will display space errors during the installation and configuration process!
The version of the Ubuntu system is: ubuntu-24.04-preinstalled-desktop-arm64+raspi.img.xz
You can download the Ubuntu system in:
https://ubuntu.com/download/raspberry-pi
The version of the OpenWrt system is: openwrt-bcm27xx-bcm2712-rpi-5-squashfs-sysupgrade-linux-6.1.100-20240805.img.gz
3.2 System flashed onto the SD (TF) card
Click here to read the instructions for System flashing
3.3 System flashed onto the SSD
Click here to read the instructions for System flashing
IV. Raspberry Pi OS operation demonstration
4.1 Run the TPU module
This chapter introduces how to run the TPU module on the Raspberry Pi OS.
The steps in this chapter apply to both systems booting from TF card and from SSD.
4.1.1 Config config.txt
After the system boots, open the Raspberry Pi terminal and enter the command:
sudo nano /boot/firmware/config.txt
Or:
sudo mousepad /boot/firmware/config.txt
Add the codes in the ending of this file:
dtparam=pciex1
kernel=kernel8.img
dtoverlay=pineboards-hat-ai
Then, save the file and reboot the system:
sudo reboot
4.1.2 Ensuring software environment
After reboot the system, open the Raspberry Pi terminal and enter the command:
uname -r
After ensuring the kernel version is greater than 4.18, enter:
lsmod | grep apex
Ensure there is no output, then you can begin installing the TPU driver.
4.1.3 Install necessary software
Ensure the network is connected to internet connection to the regions out of China (you may need to find your own method), and then add the Google TPU software library:
echo "deb https://packages.cloud.google.com/apt coral-edgetpu-stable main" | sudo tee /etc/apt/sources.list.d/coral-edgetpu.list
curl https://packages.cloud.google.com/apt/doc/apt-key.gpg | sudo apt-key add -

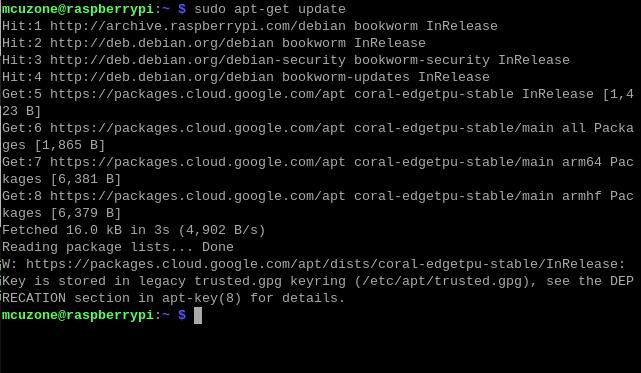
Update the software list after adding:
sudo apt-get update
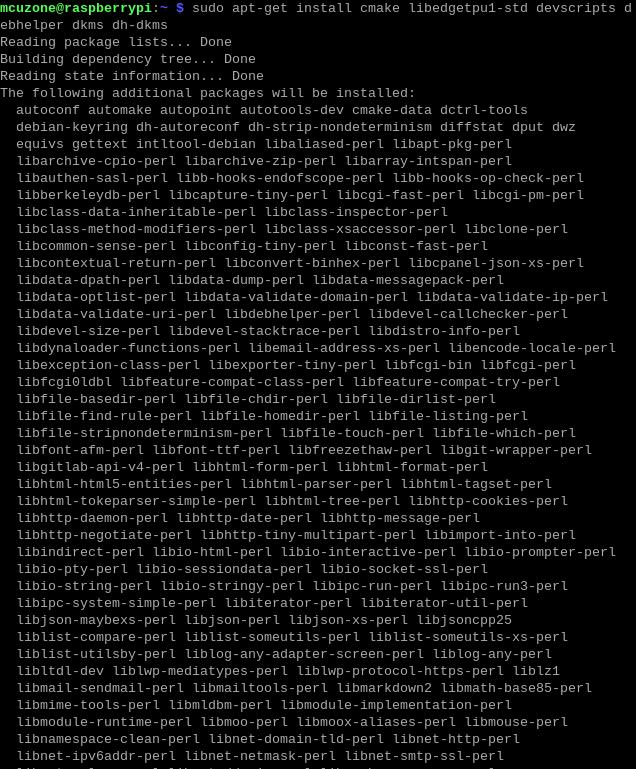
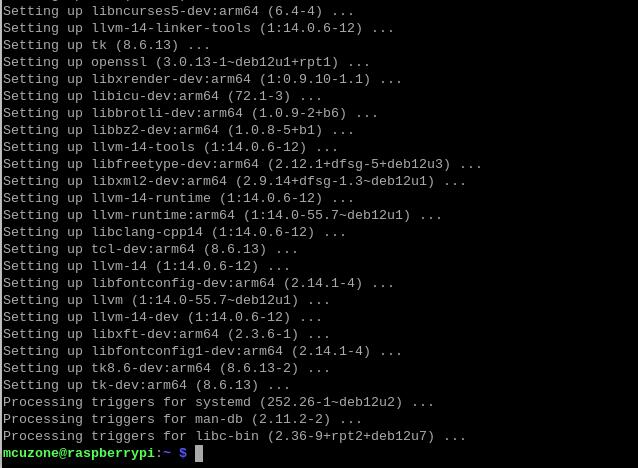
Install the necessary software after the update is completed:
sudo apt-get install cmake libedgetpu1-std devscripts debhelper dkms dh-dkms

4.1.4 Install Gasket Driver
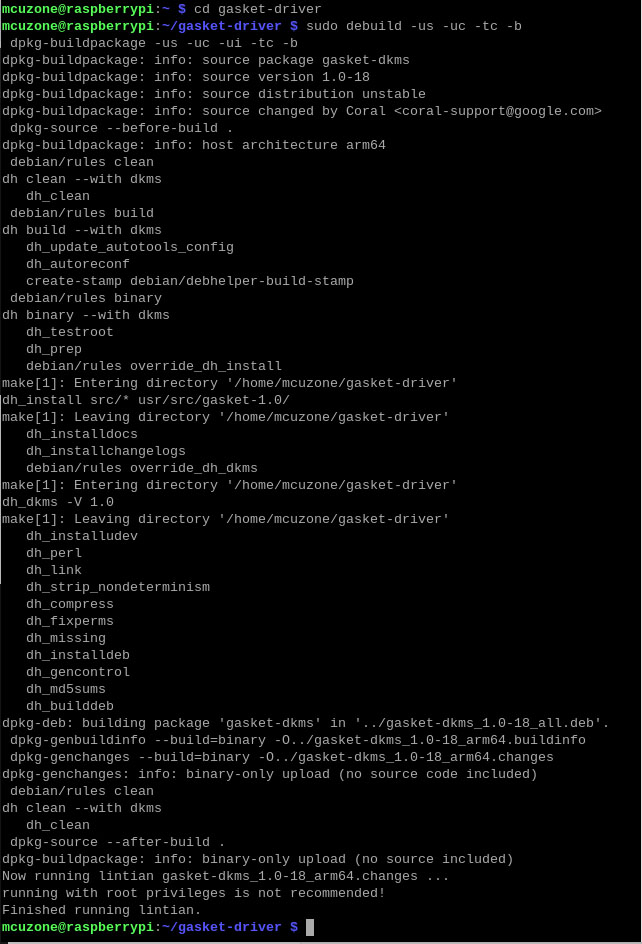
Enter the following commands in sequence to install the Gasket Driver:
git clone https://github.com/google/gasket-driver.git
cd gasket-driver
sudo debuild -us -uc -tc -b
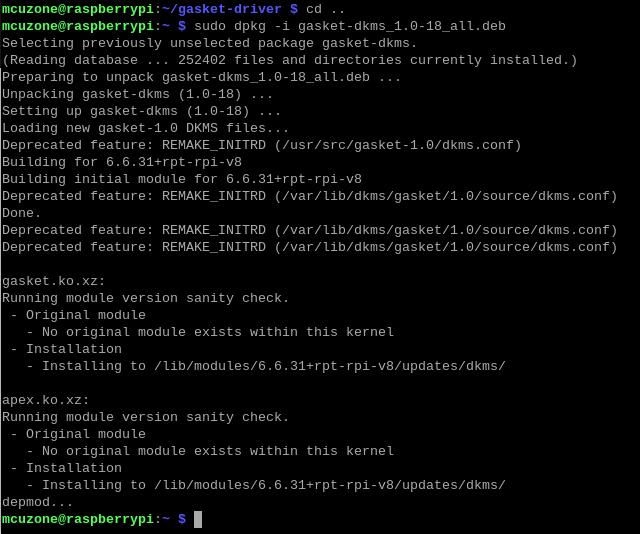
cd ..
sudo dpkg -i gasket-dkms_1.0-18_all.deb

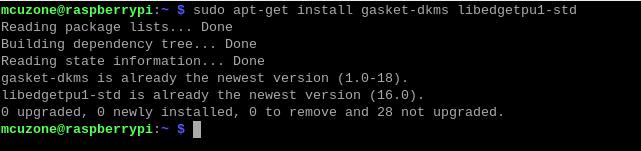
After the installation is complete, enter the following command to ensure that the driver and software were installed successfully:
sudo apt-get install gasket-dkms libedgetpu1-std
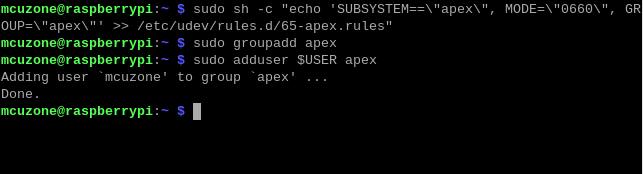
Then, add a udev rule to obtain device operation permissions:
sudo sh -c "echo 'SUBSYSTEM==\"apex\", MODE=\"0660\", GROUP=\"apex\"' >> /etc/udev/rules.d/65-apex.rules"
add user to apex:
sudo groupadd apex
sudo adduser $USER apex
Reboot the system after the setup is complete:
sudo reboot
4.1.5 Verification module testing and driver installation
After system starting, verification module testing and driver installation:
lspci -nn | grep 089a
Here, you need to see the TPU module, as shown in the following figure (specific parameter display is subject to the actual device):
ls /dev/apex_0
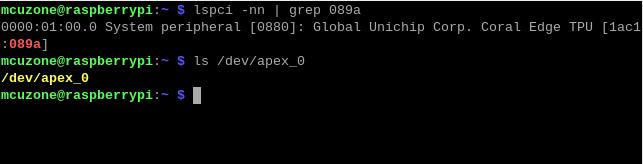
This board has a single TPU onboard, so you can see a TPU module:
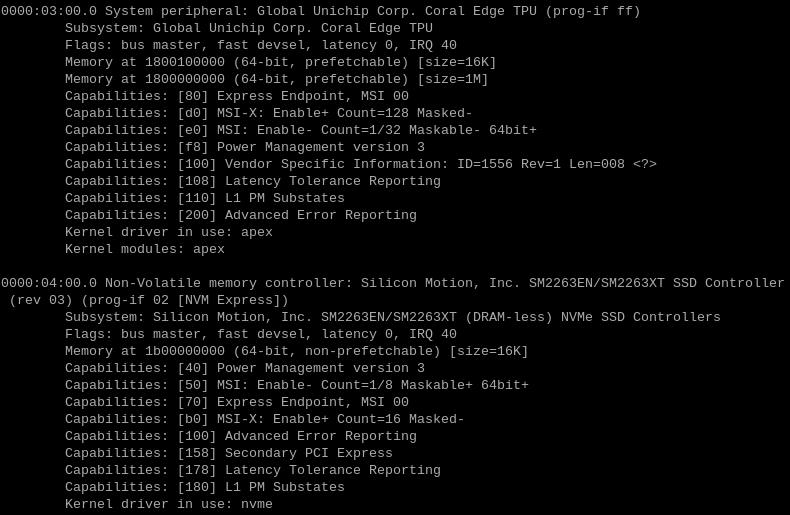
By entering sudo lspci -v, you can see the driver loading, this must include the TPU driver, and if an SSD is inserted, it also needs to include the SSD module, as shown in the following figure:
4.1.6 Configuration of the Code Execution Environment
Running Google TPU module code requires Python versions between 3.6 and 3.9, while the latest Raspberry Pi system is Python 3.11. Therefore, we need to use Pyenv to download an older version of Python.
First, install the depends:
sudo apt-get install -y make build-essential libssl-dev zlib1g-dev \libbz2-dev libreadline-dev libsqlite3-dev wget curl llvm libncurses5-dev \libncursesw5-dev xz-utils tk-dev libffi-dev liblzma-dev python3-openssl

Install pyenv after the depends are installed:
curl https://pyenv.run | bash

Enter the command:
sudo nano ~/.bashrc
Or:
sudo mousepad ~/.bashrc
Add the codes in the ending of this file:
export PYENV_ROOT="$HOME/.pyenv"
[[ -d $PYENV_ROOT/bin ]] && export PATH="$PYENV_ROOT/bin:$PATH"
eval "$(pyenv init -)"


Save and exit after adding, then reload the shell:
exec "$SHELL"

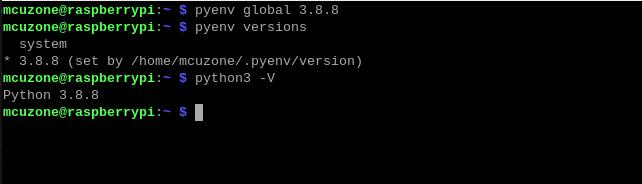
Then, we can use pyenv to install an older version of Python:
pyenv install -v 3.8.8


After the installation is successful, we will change the system Python version to 3.8.8:
pyenv global 3.8.8
After the change is successful, you can check the current Python version is 3.8.8:
pyenv versions
python3 -V
4.1.7 Download the code and run the module
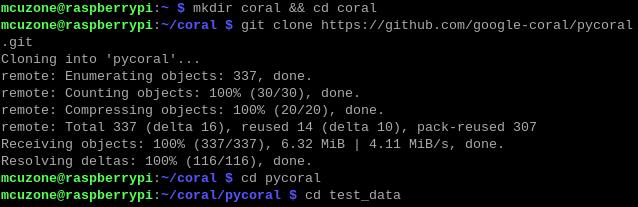
Enter the following commands in sequence to download:
mkdir coral && cd coral
git clone https://github.com/google-coral/pycoral.git
cd pycoral
cd test_data
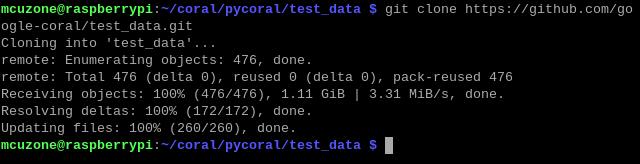
git clone https://github.com/google-coral/test_data.git
Then, download the code and run the module:
pip3 install numpy
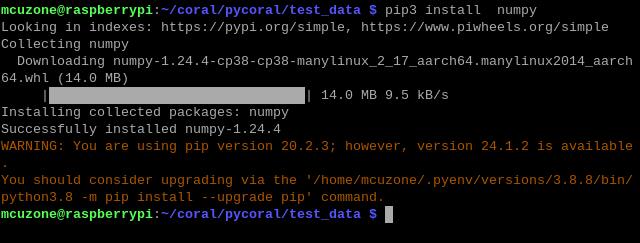
pip3 install Pillow

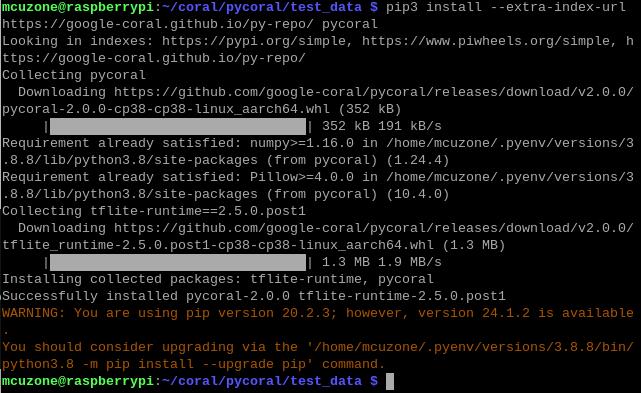
pip3 install --extra-index-url https://google-coral.github.io/py-repo/ pycoral
4.1.8 Run the code
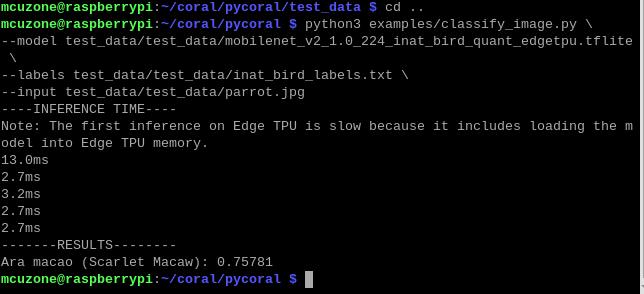
After the module download is complete, back to the coral/pycoral path:
cd ..
Enter the following code to run it:

Note: You can copy the following code, but please paste it into a text editor first. Then, following the format shown above, remove any extra enter. After that, copy it again and paste it into the terminal to run.
python3 examples/classify_image.py \
--model test_data/test_data/mobilenet_v2_1.0_224_inat_bird_quant_edgetpu.tflite \
--labels test_data/test_data/inat_bird_labels.txt \
--input test_data/test_data/parrot.jpg
4.2 Using NVMe SSD in the Raspberry Pi OS
For basic operations on the SSD, we can refer to the following link:
Use the SSD for storage expansion (Raspberry Pi OS)
Perform partitioning and other operations on the SSD
Adjust the peripheral boot order
Install the SSD speed testing software hdparm
For how to test the SSD, we can refer to the following link:
V. Using SSD in the Ubuntu system
For basic operations on the SSD, we can refer to the following link, apart from the SSD being used for storage expansion, which operates slightly differently under Raspberry Pi OS, the rest is basically the same.
Use the SSD for storage expansion(Ubuntu system)
Perform partitioning and other operations on the SSD
Adjust the peripheral boot order
Install the SSD speed testing software hdparm
For how to test the SSD, we can refer to the following link:
VI. Using SSD in the OpenWrt system
For how to use the SSD in the OpenWrt system, we can refer to the following link:
Contact Us


 QQ:8204136
Email: mcuzone@vip.qq.com
Tel: +86(0)13957118045
If there are any omissions, errors, or infringements on this page, please contact us through the above methods. Thank you!
Copyright 2004-2025 Wildchip